Step-By-Step Christmas Painting
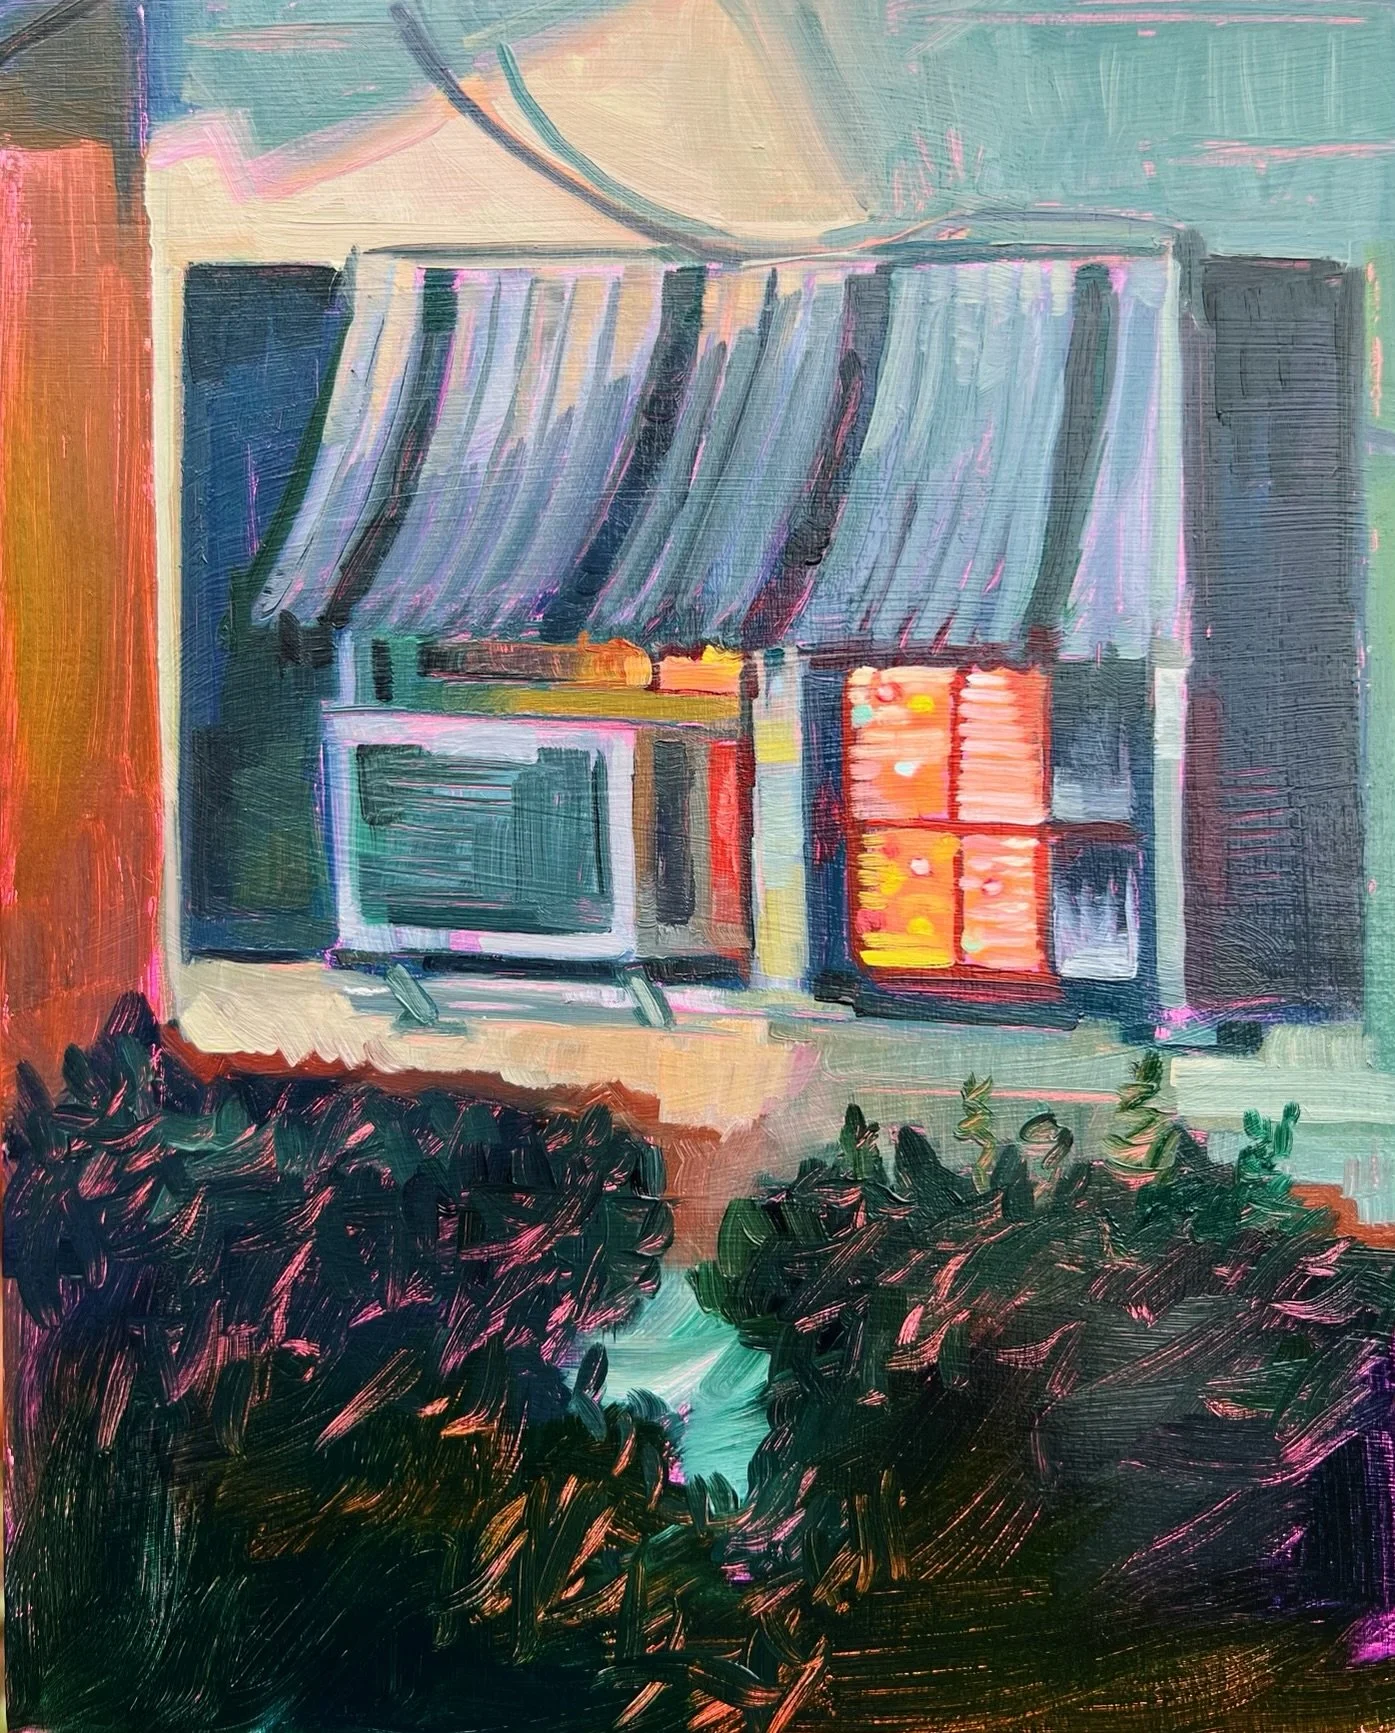
As much as I love bright and bold Christmas decorations, I’m much more of a sucker for this understated Christmas tree in the window next to a window unit aesthetic. Perhaps it’s because I grew up in apartments and decorating space was at a premium, but I really dig the subtle hints of holiday cheer that some people opt for this time of year.
I found this scene on a recent walk and for this week’s blog I thought I’d share a step-by-step process of the painting along with some commentary.

STEP ONE: UNDERPAINTING
A question I get more than perhaps any other is why I choose a specific color for my underpainting. Honestly, the reasoning is pretty simple. My goal is to bump the value of my canvas down from a harsh white to any mid-tone.
In this case, I primed it pink because I like the color.
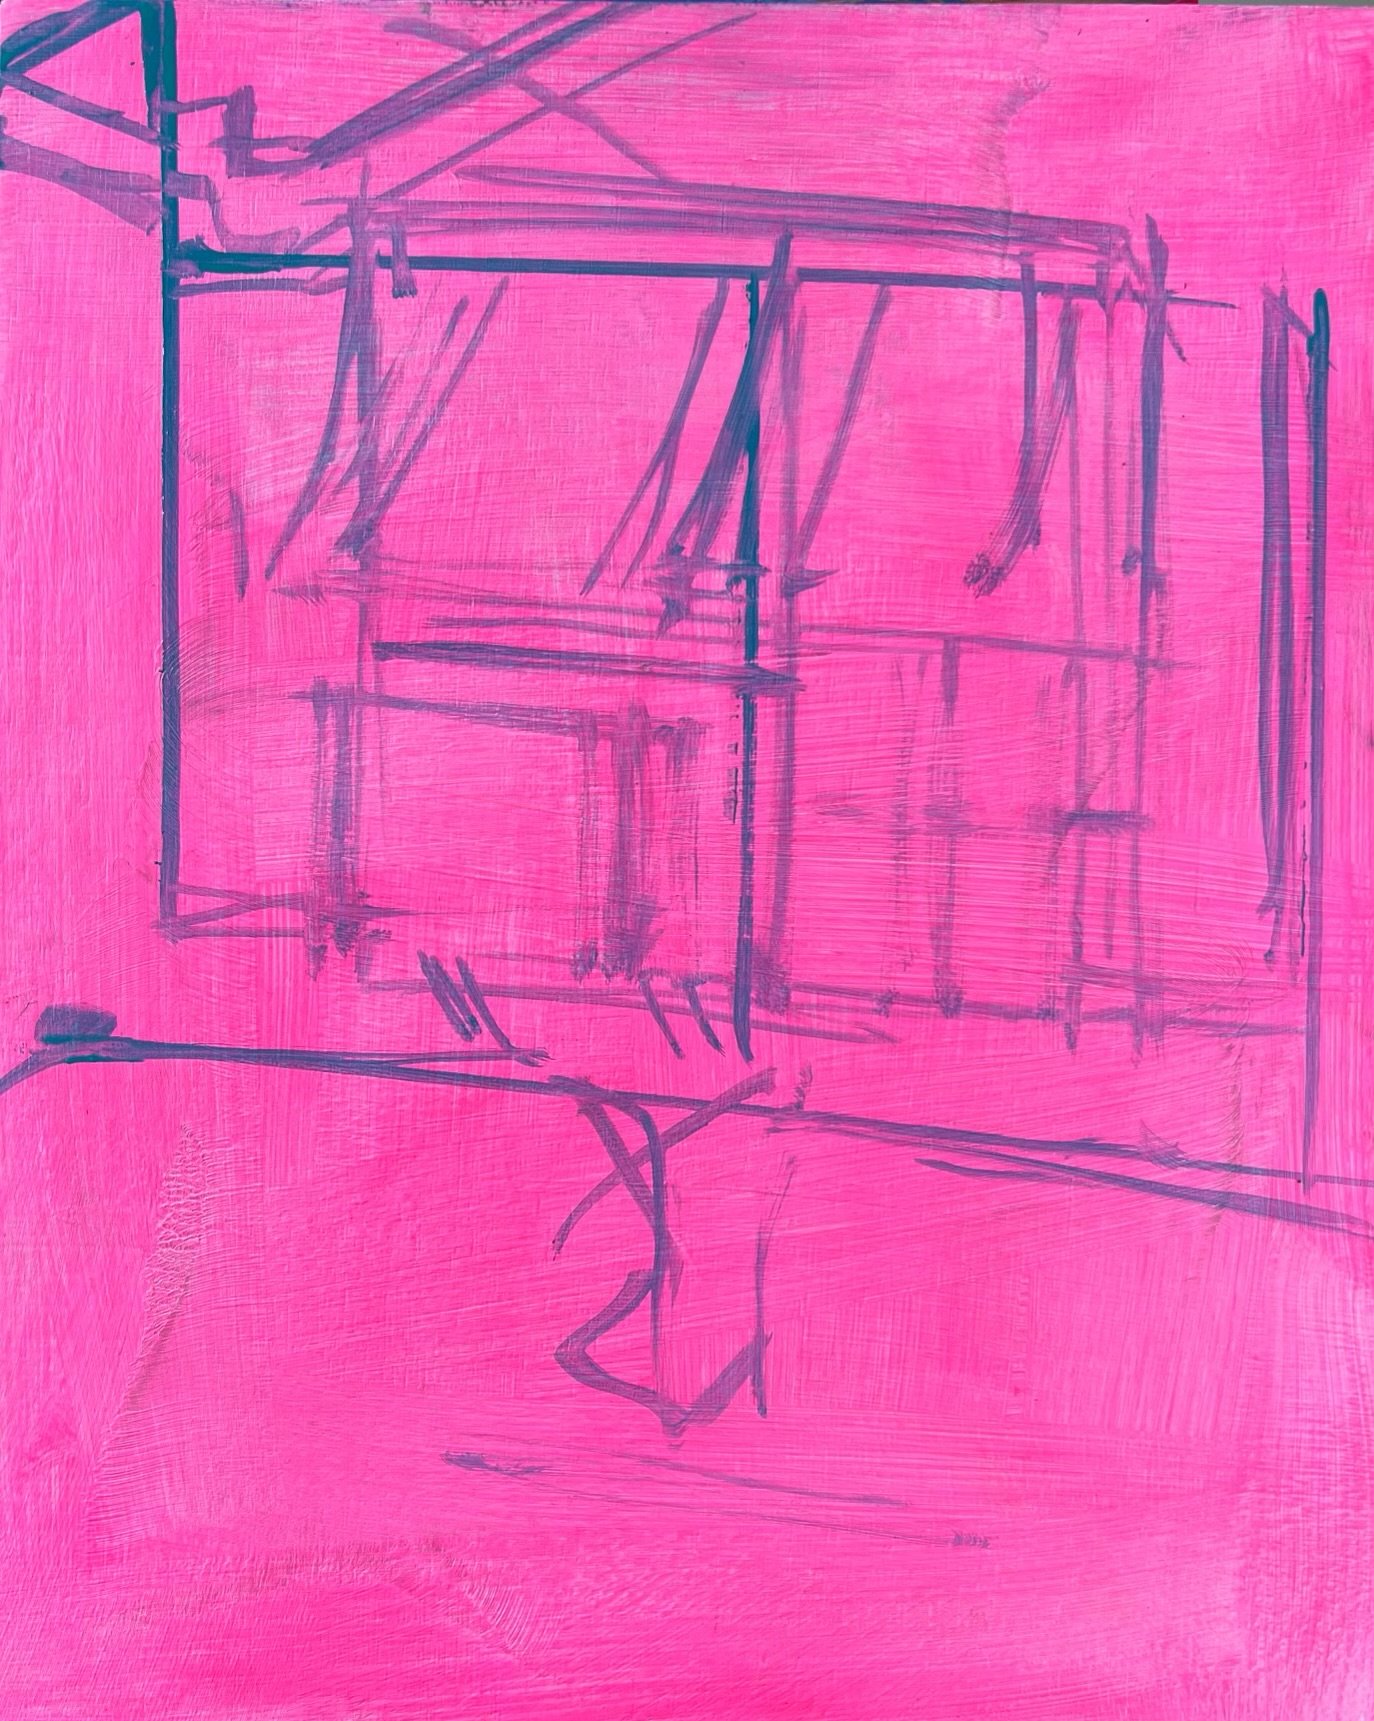
STEP TWO: Draw Lines
This part feels self-explanatory; I’m simply creating guidelines for my initial painting. Don’t let the title of “drawing” throw you off, this is far from a contour drawing. It’s just a general framework to avoid any large composition mistakes.

STEP THREE: Blocking In
This step is a mad dash toward filling up your canvas. Taking a note out of any first grade art teacher’s handbook, the goal here is to make as many value statements (big chunks of the painting filled in that are generally close to the values represented in the reference photo) as quickly as possible.
You don’t want to rush so fast that you make more mistakes than progress, but I feel that this step is best used to prevent becoming too precious too early in a painting.

STEP FOUR: Refinement
This is the rinse-repeat of the whole process. Unlike the previous step, where expediency was prioritized, we can now slow down and make more mindful color, value and drawing choices.
This can mean filling in parts of the canvas that were not yet addressed, or it can mean going over places that were not fully explained or incorrect. I find frequent breaks are particularly helpful in this step. My final suggestion is to have a clear goal for the outcome of the painting. In this case, my goal was luminosity over perfect accuracy.
STEP FIVE: Finesse
This step often feels like the cherry on top because while it’s a nice finishing touch, your painting should be able to function without it.
This is the point where I usually paint in my highlights, my power lines and any last bit of detail that may not have been prioritized but can help finish telling the story.
A rule of thumb in this stage is that you should stare at your canvas for about five minutes per one extra highlight. Or maybe that’s just advice for me because I tend to overdo it on the highlights 😂
Hope this helps you with your painting process! Reminder, you can learn a lot more from me at my online art school, Not Sorry Art School. Hoping everyone has a great holiday season!